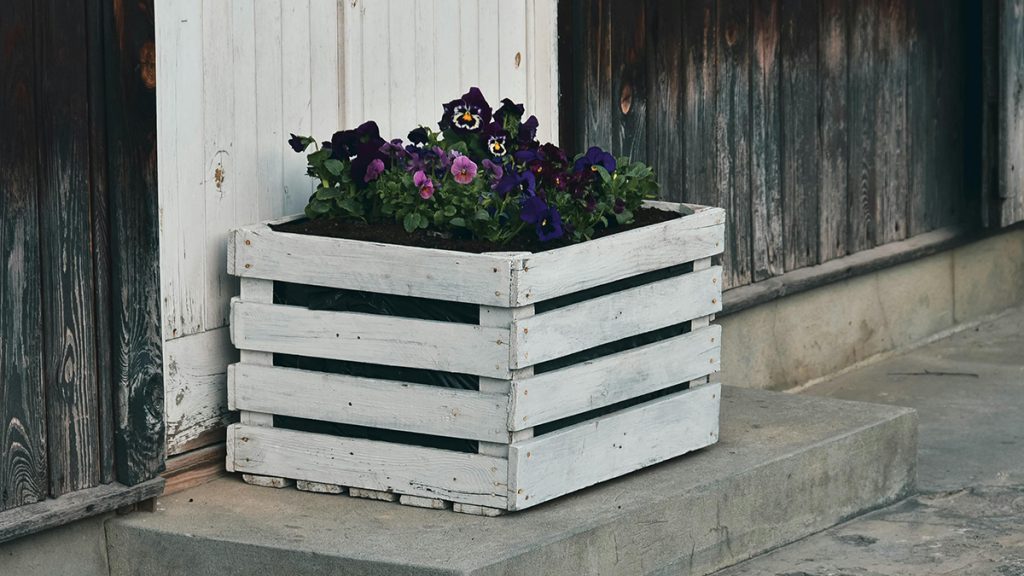
Building your own garden planter box is one of the most rewarding weekend DIY projects you can tackle. Whether you want to grow fresh herbs on the patio, cultivate vibrant flowers, or start a small vegetable garden, a custom wooden planter box provides the perfect controlled environment for your plants.
This step-by-step guide will walk you through building a sturdy, beautiful, and long-lasting rectangular planter box from scratch.
Tools and Materials Needed
Before you begin, gather your supplies. For a standard $4 \times 1.5$ foot planter box, you will need:
Materials:
-
Lumber: 2×6 boards (for the walls), 2×4 boards (for the corner posts/legs), and 1×6 boards (for the bottom base). Tip: Cedar or redwood are excellent choices because they are naturally rot-resistant.
-
Screws: 2 ½ inch exterior-grade pocket hole screws or deck screws.
-
Landscaping Fabric: To line the inside of the box.
-
Wood Glue: Exterior-grade.
-
Sandpaper: 120-grit.
Tools:
-
Drill and driver bits
-
Pocket hole jig (optional, but great for hiding screws)
-
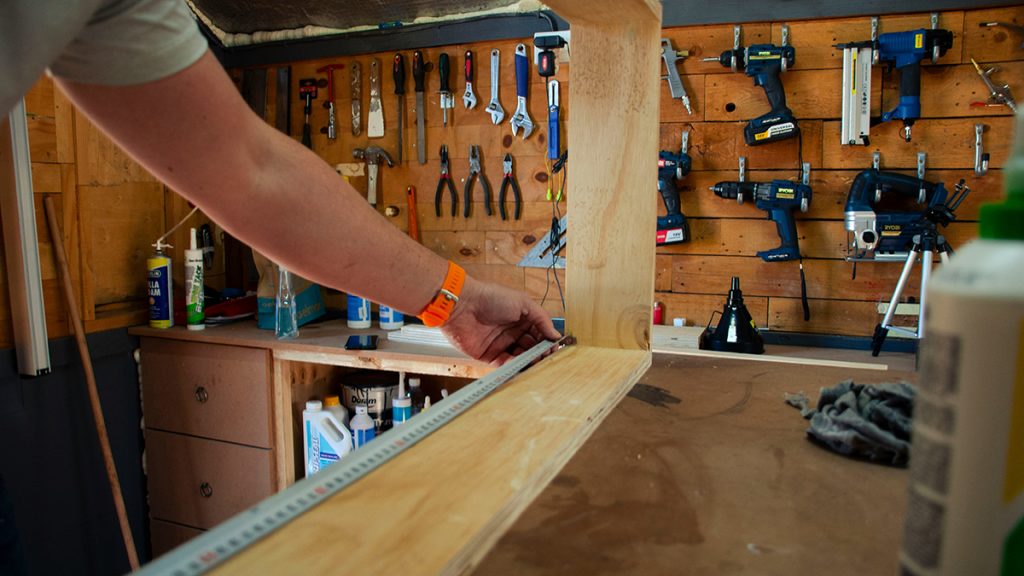
Tape measure and pencil
Step 1: Cut the Lumber to Size
Measure twice and cut once. For a standard rectangular planter, use your saw to make the following cuts:
-
Long Sides: 4 pieces of 2×6 cut to 48 inches
-
Short Sides: 4 pieces of 2×6 cut to 15 inches
-
Corner Posts: 4 pieces of 2×4 cut to 18 inches (this allows for short legs at the bottom)
-
Bottom Support Slats: 1×6 boards cut to fit the inside width (approx. 15 inches)
Step 2: Build the Side Panels
-
Lay two of the 48-inch long boards flat on your workspace, stacked edge-to-edge.
-
Place two 18-inch corner posts at either end of the boards. Position them so the top of the posts matches the top of the 2×6 boards, leaving about 7 inches of the posts extending past the bottom to serve as legs.
-
Secure the boards to the corner posts using exterior wood glue and 2 ½ inch screws driven from the inside (or via pocket holes) to keep the exterior clean.
-
Repeat this process with the remaining two long boards and corner posts. You now have the two main side panels.
Step 3: Connect the Ends to Form the Box
-
Stand the two completed side panels upright.
-
Position the 15-inch short side boards between the corner posts at each end, stacking them edge-to-edge to match the height of the long sides.
-
Clamp the pieces securely in place.
-
Fasten the short boards to the corner posts using wood glue and screws. Your planter box frame is now complete.
Step 4: Install the Bottom Slats
-
Flip the planter box upside down.
-
Install 2×4 cleat boards along the inside bottom edge of the long walls if extra support is needed, or simply attach your 1×6 bottom slats directly to the bottom frame.
-
Space the bottom slats about ¼ inch apart. This gaps are crucial because they allow excess water to drain freely, preventing root rot.
-
Secure the slats using exterior deck screws.
Step 5: Sanding and Finishing
-
Flip the planter box back onto its legs.
-
Use 120-grit sandpaper to smooth down any rough edges, splinters, or visible joint lines.
-
(Optional) Apply a food-safe exterior stain or clear sealant to protect the wood from the elements and enhance its natural grain. If you plan to grow edible vegetables or herbs, ensure the finish is completely non-toxic.
Step 6: Line the Planter and Add Soil
-
Cut a piece of landscaping fabric large enough to cover the entire interior bottom and sides of the box.
-
Secure the fabric to the wooden walls using a staple gun. This liner keeps the soil inside the box while allowing excess water to escape through the drainage gaps.
-
Fill your new planter box with a high-quality potting mix (don’t use straight garden soil, as it compacts too easily in containers).
Now you are ready to plant your favorite greens, flowers, or herbs!
Amazon Disclaimer:
As an Amazon Associate, I earn from qualifying purchases. This means that if you click on certain links within this post and make a purchase, I may receive a small commission at no additional cost to you. This helps support the site and allows us to continue creating high-quality DIY content.