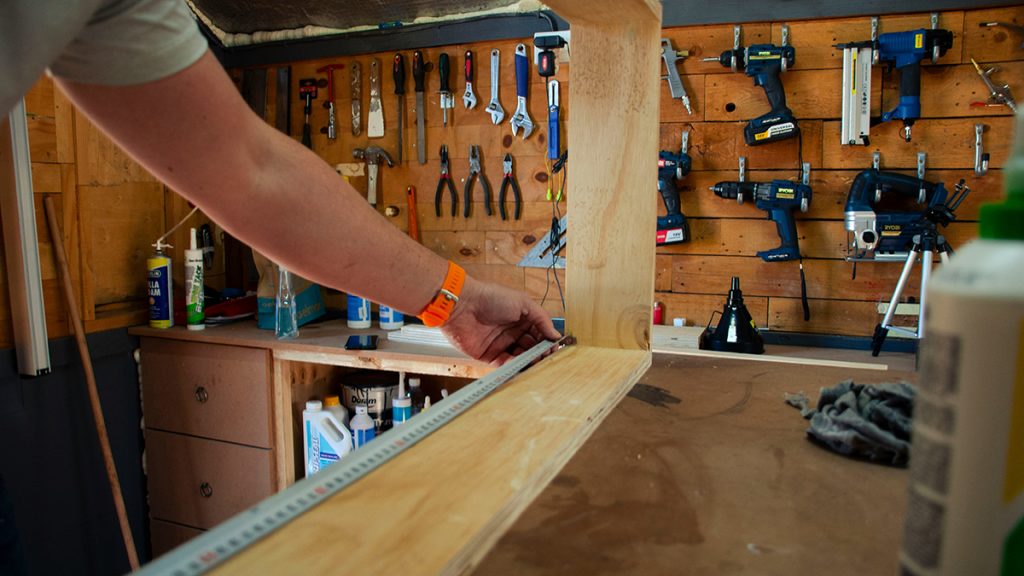
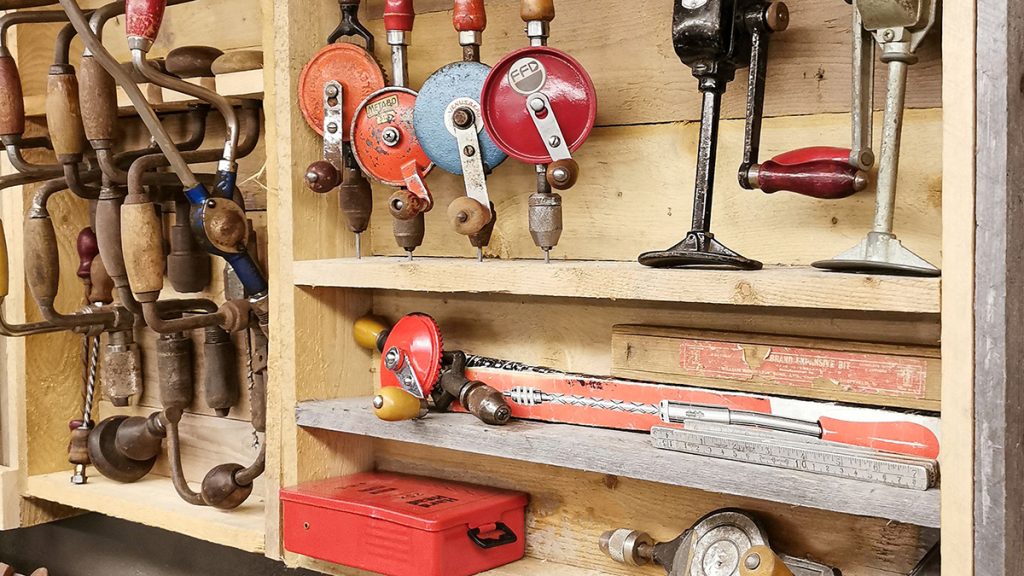
Every woodworker reaches a point where generic plastic toolboxes, pegboards, and cluttered drawers simply stop working. When your tool collection grows to include premium hand planes, precise layout squares, delicate chisels, and a fleet of router bits, storing them haphazardly is a recipe for damaged cutting edges and endless workshop frustration.
The ultimate rite of passage for any serious maker is building a custom wall-mounted tool cabinet.
A dedicated tool cabinet functions as the central shrine of your workshop. By mounting it directly over your workbench, you keep your most-used hand tools organized at eye level, protected from airborne workshop dust, and safely locked away from curious hands. Best of all, building a tool cabinet is a masterclass woodworking project in its own right—allowing you to practice carcass joinery, door hinging, and custom internal tool-holding design.
Here is a comprehensive guide to designing and building a custom, heirloom-quality tool cabinet for your shop.
The Anatomy of an Heirloom Tool Cabinet: Depth and Swinging Mass
Before rushing to the table saw to cut your plywood or hardwood stock, you must plan the cabinet’s physical layout. A successful tool cabinet requires careful structural engineering:
-
The Golden Case Depth (6 to 8 Inches): The main carcass of your cabinet should be between 6 and 8 inches deep. This is the sweet spot: deep enough to house your largest hand planes and heavy joinery mallets flat on shelves, but shallow enough that smaller tools like chisels and marking gauges don’t get buried behind one another.
-
Deep-Hung Doors (2 to 3 Inches): Never build simple, flat plywood doors. Build your doors as “shadow boxes” with a depth of 2 to 3 inches. By hanging heavy-duty piano hinges, you can utilize the inside faces of the doors to hang lightweight tools (like layout rules, saw files, and marking gauges), effectively doubling your active tool storage area.
Material Selection Comparison Matrix
| Component Zone | Best Material Choice | Thickness | Key Advantage | Joinery Strategy |
| Main Carcass | Cabinet-Grade Plywood (Birch/Maple) or Solid Cherry | 3/4-inch | High structural stability; resists sagging under heavy tool loads | Box joints, through-dovetails, or rabbets with screws |
| Back Panel | White Oak or Maple Veneer Plywood | 1/2-inch | Rigidly squares the cabinet; handles heavy tool-holder mount screws | Housed in a 3/8-inch deep carcass groove |
| Door Frames | Solid Hardwood (Ash, Oak, or Walnut) | 3/4-inch | Rigidly supports heavy door-hung tools without warping | Bridle joints or cope-and-stick mortise & tenon |
| Internal Fitments | Pine, Poplar, or Walnut scrap blocks | Various | Lightweight and easy to shape for custom chisel/plane holders | Friction fits, brass screws, or rare-earth magnets |
Step-by-Step Sequence: Building and Hanging the Cabinet Carcass
Because a fully loaded tool cabinet can easily weigh over 150 pounds, building and mounting it requires absolute structural integrity. Follow this precise construction and installation sequence:
3 Vital Rules for Designing Your Custom Tool Layout
-
Group Your Tools by Task Zone: When arranging your tools inside the cabinet, establish clear task zones rather than placing items randomly. Group your dimensioning tools (hand planes, scrub planes) in the lower center of the cabinet; organize your joinery tools (chisels, mallets, saw files) in dedicated rows near your dominant hand; and place your layout and marking tools (squares, marking gauges, dividers) inside the swinging doors where they can be reached in seconds without leaning over the workbench.
-
Always Store Chisels and Saws Edge-Down: To ensure maximum workshop safety, design your custom chisel racks and hand saw holders so that all razor-sharp cutting edges and tooth lines point straight down toward the floor. Storing sharp tools with their business ends facing down ensures that if your hand slips while reaching into the cabinet, you will safely grab a wooden handle rather than slicing your palm open on a vertical razor edge.
-
Account for Tool Expansion Upfront: One of the biggest mistakes woodworkers make is designing their tool cabinet to perfectly fit only the tools they currently own. Your tool collection will naturally grow. When laying out your internal shelves and custom holders, leave roughly 25% of the back panel area completely open. This open real estate allows you to easily add custom holders for future tool purchases without having to tear down and rebuild the entire cabinet interior.
Amazon Disclaimer:
As an Amazon Associate, I earn from qualifying purchases. This means that if you click on certain links within this post and make a purchase, I may receive a small commission at no additional cost to you. This helps support the site and allows us to continue creating high-quality DIY content.