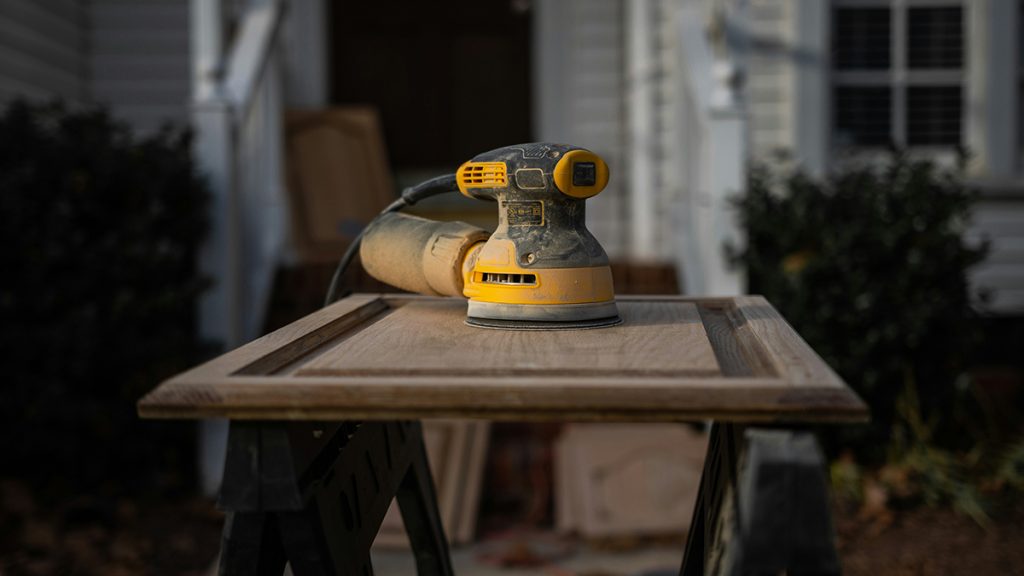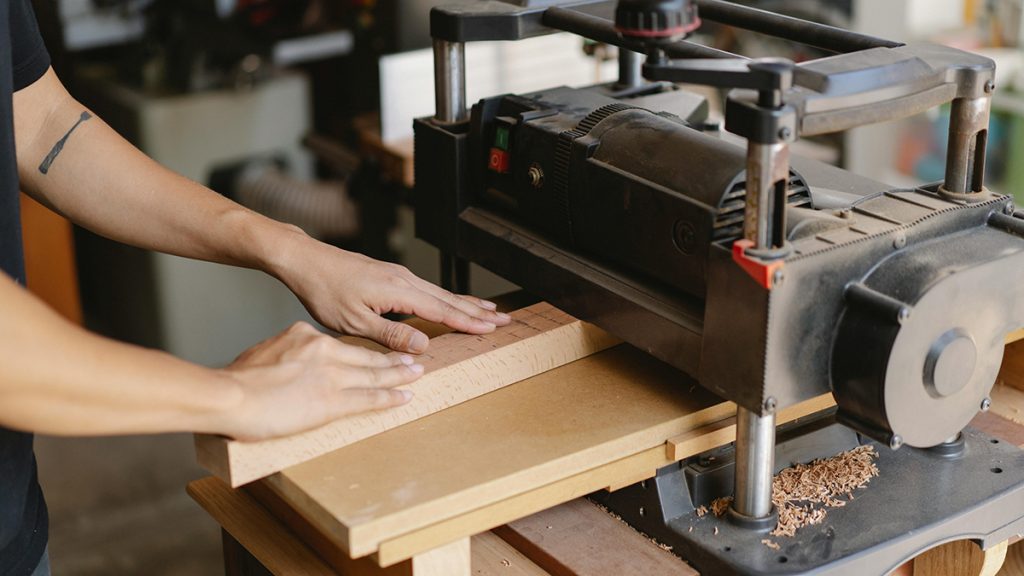
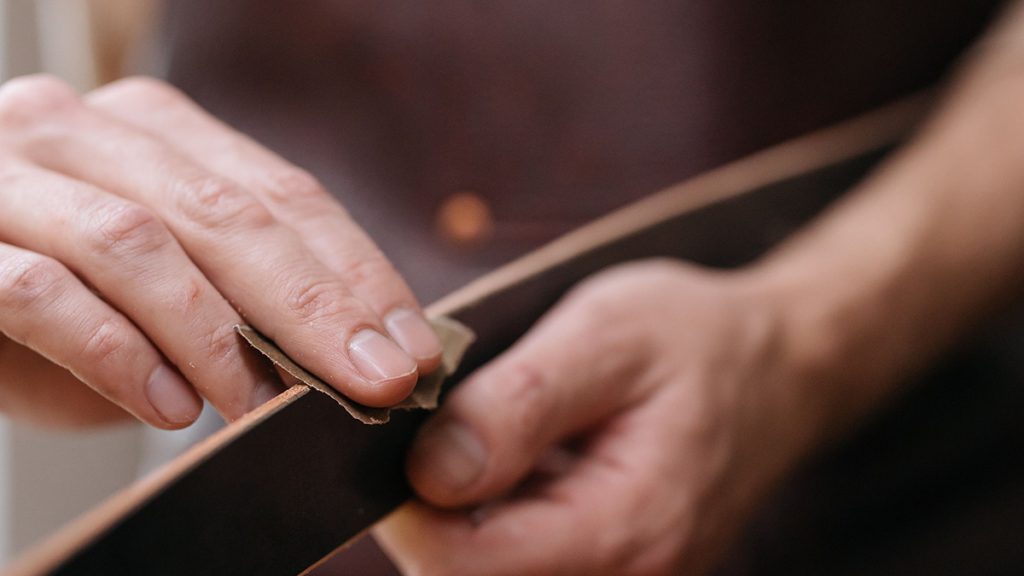
Even in a modern workshop filled with high-speed random orbital sanders, heavy-duty belt sanders, and detail palm sanders, hand sanding remains an absolute, non-negotiable step in fine woodworking and auto body restoration. Power sanders excel at rapid stock removal, but they naturally leave behind microscopic swirl marks (known as curly stipple or pigtails) that will show up instantly under a dark stain or clear polyurethane topcoat.
Furthermore, a power sander features a slightly flexible pad that will rounded over crisp, sharp profiles and soften geometric edges. For true flat surfacing, flawless edge chamfers, and pristine pre-finish preparation, nothing can replace a high-quality hand sanding block.
However, wrapping a piece of sandpaper around a random block of scrap pine from the shop floor is a recipe for an uneven finish. Scrap wood has no cushioning, causing high spots in the wood grain to wear down unevenly, while your fingers quickly cramp up.
To achieve a true factory-smooth finish without hand fatigue, you need a dedicated, engineered sanding block. Here is a review of the best sanding blocks for hand finishing.
The Top Sanding Blocks for Workshop Finishing
A premium sanding block must provide a dead-flat or perfectly profiled reference surface, offer comfortable ergonomics to prevent finger fatigue, and feature a secure mechanism to lock sandpaper sheets firmly in place without slipping.
1. Preppin’ Weapon Sanding Block by Time Shaver Tools
Widely recognized by professional fine furniture makers and commercial paint shops as the absolute pinnacle of manual sanding block design.
-
Core Material: High-density, impact-resistant composite with a cushioned neoprene base
-
Paper Size: Standard 1/4 sheet of regular sandpaper
-
The Highlights: The Preppin’ Weapon is a shop favorite because it completely eliminates the tedious hassle of cutting proprietary sandpaper strips. It features heavy-duty, built-in spring-loaded brass clips that grip standard 1/4 sheets of sandpaper with iron-clad tension. The block is shaped like an ergonomic pistol grip, which transfers your arm power evenly across the surface and protects your fingers from friction burns.
-
Best For: Furniture makers and cabinet builders who want a heavy-duty, lifetime tool that speeds up paper changes.
2. Soft Sanders Ergonomic Sanding Block Kit
If your woodworking projects include complex crown moldings, rounded table edge profiles, or curved chair scoops, standard flat blocks are useless. You need a flexible contour system.
-
Core Material: Custom-molded, high-density flexible EVA foam
-
Paper Size: Accepts standard adhesive-backed (PSA) sandpaper rolls
-
The Highlights: This kit features a series of blocks molded into distinct geometric profiles—including concave curves, convex radii, sharp V-grooves, and teardrop shapes. The foam has just enough rigidity to hold its shape under heavy pressure, but enough elasticity to conform perfectly to hand-carved profiles without flattening them out.
-
Best For: Luthier work (instrument making), architectural trim installers, and furniture restorers managing complex curves.
3. Dura-Block AF44L 11-Inch Hand Sanding Block
The ultimate industrial standard for auto body restoration, flattening out expansive epoxy resin tables, and truing up long jointed panel faces.
-
Core Material: High-density closed-cell EVA foam
-
Paper Size: 2-3/4 inch wide adhesive or hook-and-loop sheets
-
The Highlights: At a massive 11 inches long, Dura-Block acts like a jointing plane for surface finishing. If you try to sand a long table top with a small palm block, you will inadvertently follow the natural dips and valleys of the wood grain, creating a wavy surface. The extensive footprint of the Dura-Block bridges those valleys, cutting down the high spots to guarantee a dead-flat, glass-smooth surface profile.
-
Best For: Flattening large table tops, epoxy resin River Tables, and precision automotive body panel work.
4. Festool HSK-A 80×130 Hand Sanding Block with Dust Extraction
For detail-oriented woodworkers who want a premium manual tool that hooks up directly to a shop vacuum to maintain a clean, dust-free work environment.
-
Core Material: Hardened composite with a hook-and-loop pad interface
-
Paper Size: Proprietary $80 \times 130\text{mm}$ Festool Granat abrasive sheets
-
The Highlights: Manual hand sanding typically creates a cloud of fine, airborne dust that settles deep into your lungs and eyes. Festool solves this by building an internal air plenum directly into the block housing. When attached to a standard dust extractor hose, airborne wood dust is pulled straight through the perforated holes of the abrasive paper at the source, keeping your workspace clean and preventing the sandpaper from clogging up with packed wood dust.
-
Best For: Woodworkers who suffer from wood dust allergies or who perform fine sanding directly inside a client’s home.
Sanding Block Selection Comparison Matrix
| Model | Block Profile | Paper Attachment Style | Core Density | Best Application |
| Preppin’ Weapon | Rectangular Grip | Spring-Loaded Brass Clips | High (Neoprene Cushion) | All-purpose flat panels & edge chamfers |
| Soft Sanders Kit | Multi-Profile Curves | Adhesive-Backed (PSA) | Medium-Flexible Foam | Complex crown moldings & curved chairs |
| Dura-Block 11″ | Long-Bed Straight | Adhesive / Hook-and-Loop | High Rigid Foam | Flattening massive tabletops & resin surfaces |
| Festool HSK | Vacuum-Attached | Hook-and-Loop System | High Composite | Dust-free finishing & delicate pre-coat prep |
Step-by-Step Sequence: The Flawless Pre-Finish Sanding Method
Simply rubbing a block back and forth across a board will often leave deep, noticeable scratches that appear after you apply a clear coat. Follow this strict physical grit sequence to guarantee a flawless finish:
Wipe down the wood surface with a tack cloth to clear away all dust from previous power-sanding stages. Identify the exact direction of the wood grain lines. Absolute Rule: You must always sand perfectly parallel to the wood grain, never diagonally or across it. Sanding across the grain cuts deep microscopic trenches that tear the fibers and ruin the look of the finish.
Take a soft lead pencil (like a 2B) and lightly draw a loose zig-zag grid pattern across the entire face of your workpiece. Mount your lowest starting paper grit (typically 120-grit for raw wood or 180-grit if power sanding was already done) onto your block. Sand the board with steady, overlapping strokes until the pencil grid vanishes completely. This visual grid guarantees that you sand the entire surface evenly without missing low spots.
Vacuum the surface clean, draw a new pencil grid, and upgrade your block to 150-grit sandpaper. Repeat the uniform sanding passes until the lines vanish. Progress one final time to 180-grit paper for open-pored woods like Oak, or 220-grit paper for tight, closed-pored woods like Maple and Cherry. Never skip a grit tier (e.g., jumping from 120 straight to 220), as the fine paper cannot erase the deep gouges left by the coarse paper.
If you are planning to apply a water-based finish, the moisture will cause the compressed wood fibers to stand up, creating a rough texture. To prevent this, mist the wood lightly with a damp sponge (do not soak it) to raise the grain intentionally. Let it dry completely for 2 hours, then take your sanding block loaded with 220-grit paper and execute a few light, final pull-strokes parallel to the grain to shave off the raised fibers.
3 Vital Rules for Hand Finishing Success
-
Let the Abrasive Crystals Do the Work: A universal mistake is pressing down onto the sanding block with your entire body weight, thinking it speeds up the project. Excessive downward pressure causes the sharp aluminum oxide or silicon carbide crystals on the paper to snap off and fracture, dulling the sheet instantly and generating high friction heat that burns the wood. Apply moderate, uniform pressure and let the sharp grit slice the fibers naturally.
-
Avoid Using Soft Foam Blocks for Edges: While soft, squishy foam sanding blocks feel highly comfortable in your palm, they are dangerous to use around crisp, straight edges or corner profiles. As you push a soft block over a sharp corner, the foam will compression-wrap around the edge, softening the profile and creating an accidental rounded contour. For crisp geometric corners and perfect chamfers, always use a hard-bottomed block (like the Preppin’ Weapon or a wooden block backed with thin cork).
-
Clean the Sandpaper Regularly: As you sand, fine wood dust accumulates between the abrasive crystals (a phenomenon known as loading). This packed dust acts like a shield, preventing the sharp grit from cutting into the wood fibers and causing the block to skid uselessly across the surface. Take a stiff nylon utility brush or a rubber cleaning stick and brush out the paper face every few minutes to keep the grit clean and sharp.
Amazon Disclaimer:
As an Amazon Associate, I earn from qualifying purchases. This means that if you click on certain links within this post and make a purchase, I may receive a small commission at no additional cost to you. This helps support the site and allows us to continue creating high-quality DIY content.