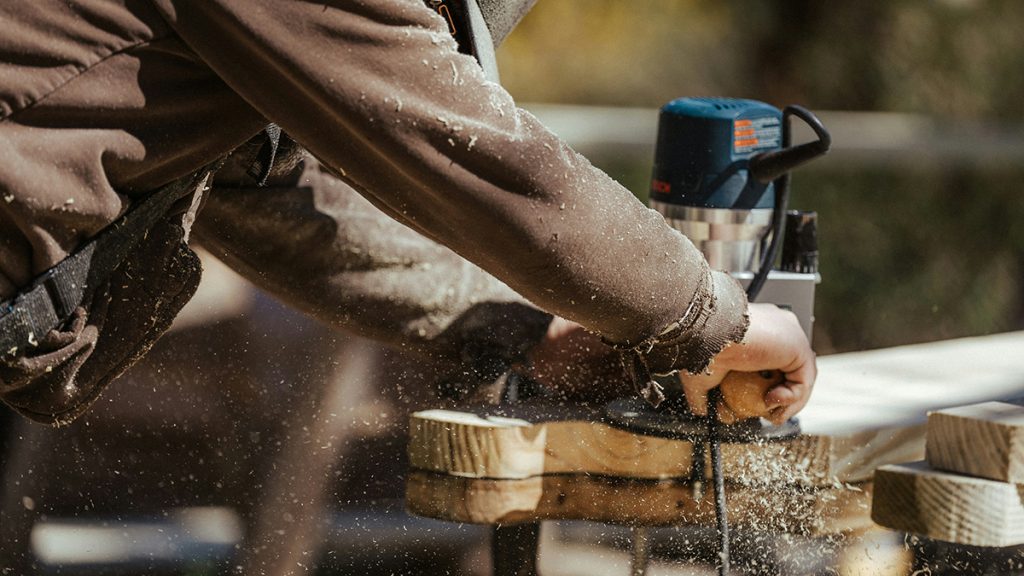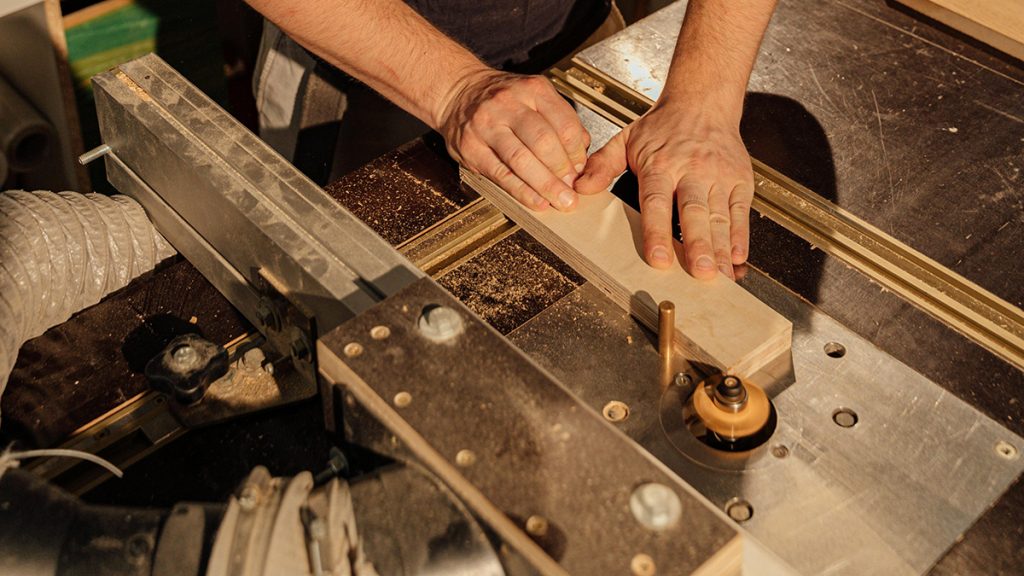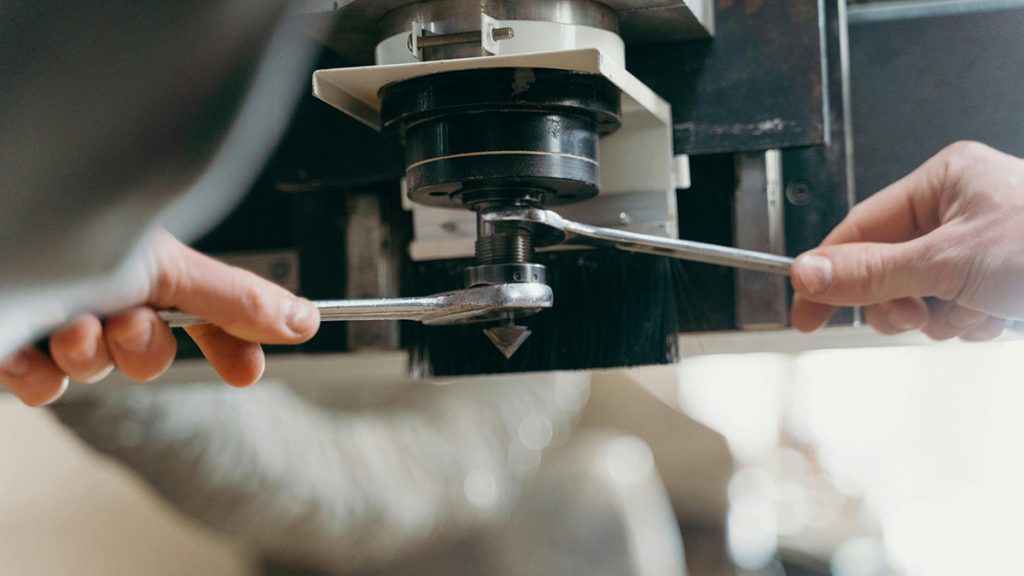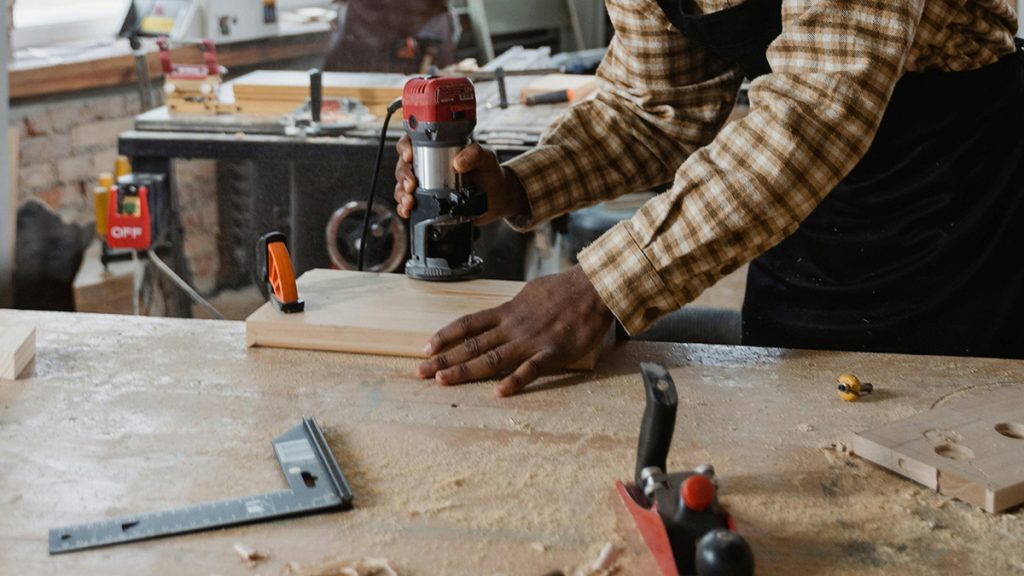
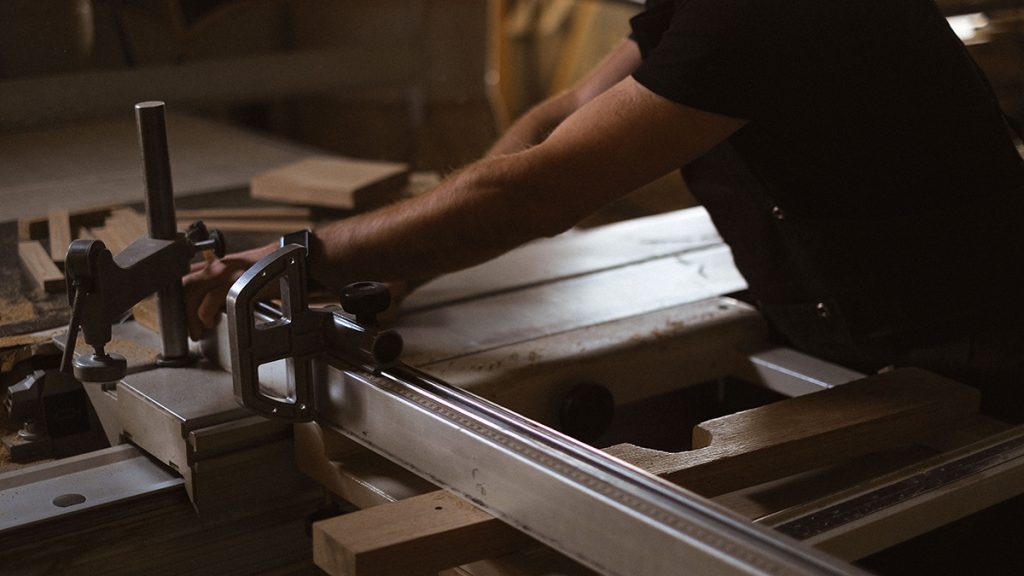
A router table is one of the most powerful and versatile assets in a precision woodworking shop. It turns a chaotic, handheld plunge router into a stable, stationary shaper machine capable of profiling complex architectural crown moldings, cutting clean joinery slots, and batching out repeatable cabinet door frames. However, a router table is only as accurate—and as safe—as its guide fence.
Many beginners treat a router fence like a simple straight edge, sometimes clamping a scrap piece of jointed oak across the table. This is a critical mistake. A proper router table fence does much more than keep your wood straight. It houses specialized safety guards, provides attachment points for featherboards to prevent dangerous kickbacks, manages massive columns of airborne sawdust via integrated dust ports, and features adjustable split-faces to completely close the gap around a high-speed spinning bit.
Whether you are molding delicate chamfers or cutting heavy deep-groove dadoes, investing in an engineered router table fence completely upgrades your toolroom safety and accuracy metrics. Here is a review of the best router table fences for your workshop.
The Key Configuration: Split-Face vs. Solid Fences
When shopping for a router table fence, you will look at how the front face plates are constructed. For maximum precision, always insist on a split-face adjustable fence layout.
-
The Mechanism: A split-face fence utilizes two independent sub-fence panels (usually made of smooth MDF or slick melamine) mounted to a rigid aluminum spine track. These panels can slide left and right horizontally.
-
Why It Matters for Accuracy: Closing the split-faces until they sit a mere hairline away from your router bit provides maximum zero-clearance support for the timber. This completely eliminates wood sagging or dipping into the bit cavity—the primary cause of ragged edge tear-out and destroyed profiles.
-
Why It Matters for Safety: Minimizing the open gap around a bit spinning at 22,000 RPM means there is less open space for a operator’s fingers to accidentally slip into the cutting zone.
The Top Router Table Fences Reviewed
1. Kreg PRS1015 Premium Router Table Fence
The undisputed industry benchmark for professional woodworkers and serious home makers who demand rapid alignment and rock-solid locking power.
-
Core Material: Heavy-duty anodized aircraft-aluminum T-slot extrusion
-
Micro-Adjustment: Precision thumbwheel tracking
-
The Highlights: The Kreg PRS1015 features an elite, single-locked fence tracking system based on traditional table saw T-square designs. Instead of adjusting two separate clamps on both sides of the table, the Kreg clamps securely to a front guide rail with a single heavy lever hand-crank. It includes fully adjustable MDF split-faces, a clear bit safety guard, and an integrated macro/micro adjustment wheel that allows you to dial in fence tracking offsets down to 0.005 of an inch.
-
Best For: All-purpose routing stations, high-precision cabinet joinery, and woodworkers looking for fast, single-point fence adjustments.
2. Incra LS17 Positioner Router Table Fence System
The ultimate choice for advanced joinery masters, box makers, and woodworkers executing intricate, repeating geometric patterns.
-
Core Material: Precision-machined solid aluminum layout assembly
-
Micro-Adjustment: Calibrated lead-screw positioner
-
The Highlights: Incra completely changes the layout game by utilizing an ultra-precise, mechanical lead-screw positioner assembly. Instead of guessing your fence positioning or sliding it manually against a rule, the Incra system clicks into physical tooth increments with absolute mathematical repeatability down to 0.001 of an inch. If you are cutting complex double-blind dovetails, matching box joints, or intricate interlocking teeth, this fence completely eliminates trial-and-error test cuts.
-
Best For: Advanced woodworkers specializing in decorative jewelry boxes, complex joinery joints, and ultra-high precision machining.
3. JessEm 4010 Master Fence II
An absolute tank of an industrial fence, built with heavy-mass castings and premium materials to withstand heavy daily commercial abuse.
-
Core Material: Heavy-wall extruded aluminum spine with solid phenolic faces
-
Micro-Adjustment: Linear tracking knurled brass knobs
-
The Highlights: JessEm is famous for building indestructible, heavy-mass shop gear. The Master Fence II features front face panels made of thick, solid red phenolic composite rather than standard MDF. Phenolic is completely impervious to humidity shifts and will never warp, bow, or cup over time. It features a unique, independent micro-adjuster mechanism on the outfeed face plate, allowing you to offset the outfeed fence forward to turn your router table into a vertical jointer machine.
-
Best For: Commercial production woodshops, damp garage workshops prone to humidity shifts, and edge-jointing tasks.
4. Rockler Router Table Fence (Model 53648)
An exceptional, budget-friendly aftermarket fence system that delivers high-end safety features and modular T-track options at an affordable price point.
-
Core Material: Rigid aluminum core with melamine-coated MDF faces
-
Micro-Adjustment: Manual slide tracking with integrated rulers
-
The Highlights: Rockler’s design focuses heavily on shop safety and accessory modularity. The aluminum frame features front and top-mounted universal T-tracks, making it incredibly easy to slide on heavy featherboards, custom stops, and transparent bit safety shields. It features an oversized, low-restriction 2-1/2 inch dust collection port angled backward to maximize dust collection airflow directly behind the spinning bit.
-
Best For: Intermediate hobbyists and DIYers building their first custom router table system.
Router Fence Selection Comparison Matrix
| Model | Face Plate Material | Adjustment Mechanism | Integrated Dust Port | Best Primary Application |
| Kreg PRS1015 | Melamine MDF | T-Square Single Lever | 2-1/2 inch | Rapid setups & general cabinet builds |
| Incra LS17 | Machined Aluminum | Lead-Screw Positioner | 2-1/2 inch (Via guard) | Micro-accurate dovetails & joinery templates |
| JessEm Master II | Solid Phenolic | Dual Side Knobs | 2-1/2 inch | High-volume production & vertical jointing |
| Rockler 53648 | Melamine MDF | Manual Slot Slide | 2-1/2 inch | Budget shop upgrades & heavy featherboarding |
The Safe Machining Sequence: The 4-Step Router Setup
Operating a router table incorrectly introduces severe kickback vectors. Unlike a hand router, the table bit spins in a fixed position, and your hands move the wood past it. Follow this strict physical tracking and safety sequence before feeding your timber:
Ensure the router motor is completely unplugged from the wall. Install your profile bit into the collet chuck tightly. Loosen your fence’s split-face locking knobs and slide the wood panels inward until they almost touch the router bit body, leaving a tiny 1/16-inch clearance safety window around the cutting edges. Lock the plates down.
Measure from your fence line to verify your profile depth. Lock the main fence clamping levers tightly down to your table. Slide a heavy-duty featherboard into the fence’s top T-slot track, positioning the flexible plastic fingers so they press down firmly onto the top face of your wood blank. Mount a secondary featherboard to the table to press the wood inward against the fence. Featherboards hold the wood under mechanical tension, preventing kickbacks and ensuring a uniform profile cut depth.
Connect your dust extractor line to the fence port and turn it on. Plug the router in. Absolute Operational Rule: Always feed your wood workpiece from the RIGHT side of the table toward the LEFT side. Feeding from right-to-left ensures the rotation of the spinning bit pushes the timber tightly against the fence. Feeding left-to-right creates a dangerous “climb cut” where the bit acts like a wheel, grabbing the board and firing it like a rocket out of your hands.
Turn the router on and let it scream up to full velocity. Place your board flat against the infeed fence plate on the right. Advance the timber smoothly through the featherboard zone using rubber-bottomed push blocks or push sticks. Never let your bare hands pass directly in front of the open bit cavity; keep your pressure vectors centered on the guard zones.
3 Vital Rules for Router Table Fence Accuracy and Safety
-
Utilize Jointing Offsets for Full-Profile Cuts: If you are cutting a profile that removes the absolute entire edge of the wood (like a full bullnose or a deep edge-jointing pass), the board’s width will be smaller once it passes the bit. If you keep pushing it against a flat straight fence, the board will snipe and gouge as it hits the outfeed side because there is no wood left to support it. To prevent this, shim your outfeed fence plate forward (using plastic shims or JessEm’s built-in adjuster) to match the exact depth of your cut. This provides a continuous tracking line that eliminates edge snipe completely.
-
Never Trape Your Wood Between the Bit and the Fence: When cutting a slot, groove, or dado down the middle of a board, the fence must always sit behind the router bit, forcing you to press the wood inward against the guide line. Never position the fence so that the wood board is trapped directly underneath the overhanging body of the bit while the fence is on the outside. If the wood shifts slightly, the bit will climb-catch the timber fibers, violently launching the board and instantly pulling your hands into the cutter.
-
Clear the Internal Dust Port Plenum Daily: Fine router dust mixed with sticky wood resins can rapidly pack inside the 90-degree collection chamber located right behind the fence mouth. If this plenum plugs up, your dust collector’s suction drops to zero, filling the air with dust and allowing chips to build up along your fence tracking line. A single wood chip trapped between your board and the fence will throw off your cut accuracy by a fraction of an inch. Sweep out the internal chamber with a small brush after every major profiling session.
Amazon Disclaimer:
As an Amazon Associate, I earn from qualifying purchases. This means that if you click on certain links within this post and make a purchase, I may receive a small commission at no additional cost to you. This helps support the site and allows us to continue creating high-quality DIY content.