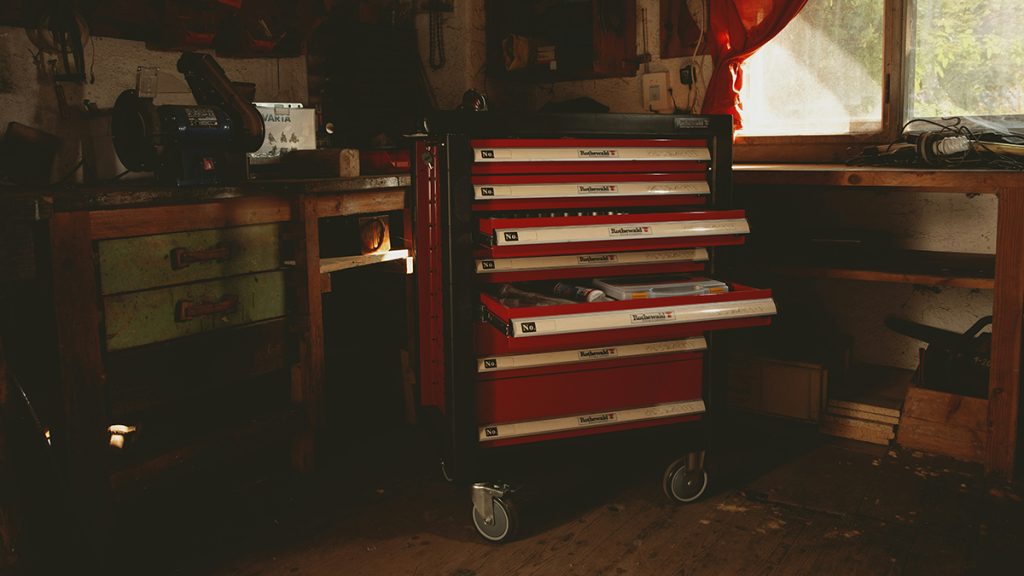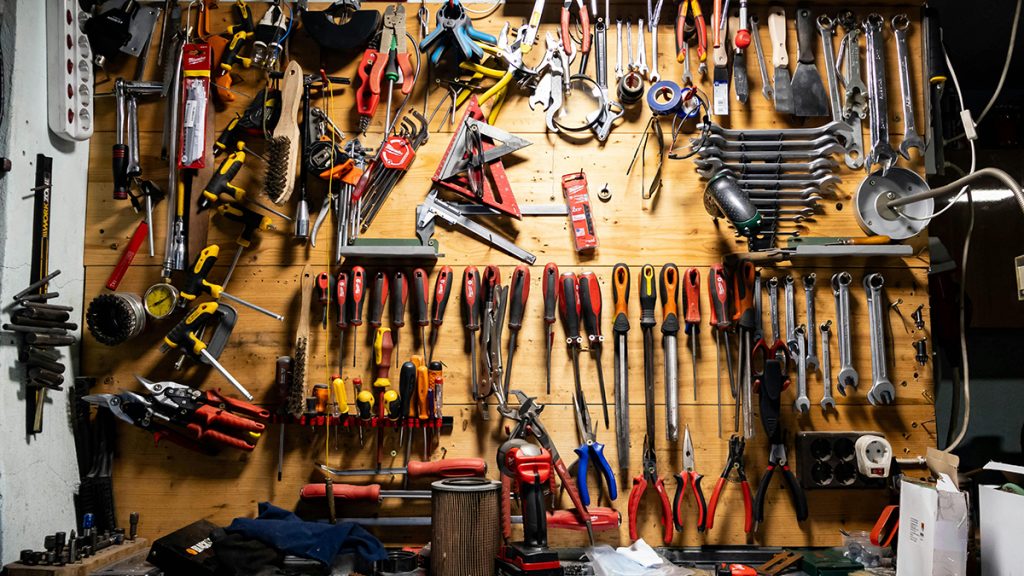
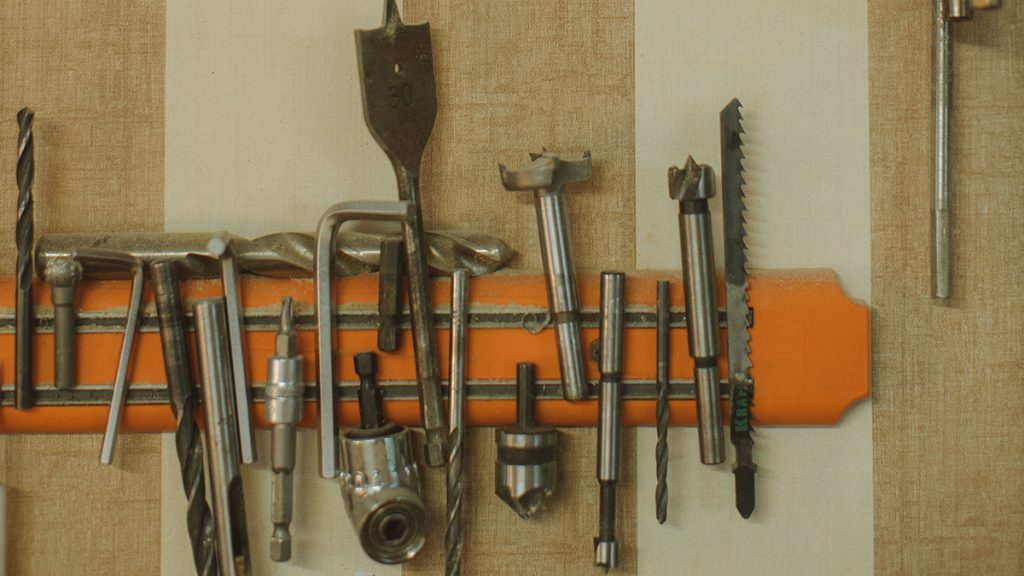
Keeping your workshop organized is a constant battle. In a busy shop, fine bench chisels, high-speed steel drill bits, routing cutters, and screwdrivers have a natural habit of wandering off, burying themselves under mountains of fresh sawdust, or hiding deep within cluttered toolboxes.
For a woodworker or mechanic, this chaos does more than just waste valuable layout time—it ruins your expensive cutting edges. When fine, razor-sharp wood chisels roll around loosely inside a metal drawer, their delicate bevels slam against each other, causing micro-chipping, nicks, and premature dulling.
Upgrading your shop wall with a heavy-duty magnetic tool holder strip completely solves this problem. It gets your cutting tools off your valuable workbench real estate, keeps them organized in plain sight, and shields their sharp edges from accidental contact damage.
Here is a comprehensive review of the best magnetic tool holders for organizing your workshop chisels and bits, along with proper storage protocols.
The Mechanical Core: Ferrite vs. Neodymium Magnets
When shopping for a magnetic tool strip, look closely at the internal magnetic material. The type of magnet used dictates exactly how much weight the bar can handle safely.
-
Ceramic Ferrite Magnet Strips (Standard Tech): These are the traditional, affordable dark gray magnetic bars. While they work great for light screwdrivers, small drill bits, and lightweight wrenches, they lack the intense structural pull needed for heavy items. If you slap a heavy $1\text{-inch}$ solid steel framing chisel onto a weak ceramic strip, a slight vibration from a nearby table saw can cause it to drop straight to the floor, destroying the razor edge or injuring your foot.
-
Neodymium Rare-Earth Magnets (Premium Tech): These are engineered using advanced alloys that produce an incredibly intense magnetic field. A compact neodymium strip has up to 10 times the weight-holding capacity of a standard ceramic bar. This iron-clad holding power ensures that heavy steel chisels, massive auger drill bits, and dense hand tools lock securely into place with zero risk of sliding or dropping.
The Top Magnetic Tool Holders Reviewed
1. Master Magnetics 13-Inch Heavy-Duty Magnetic Tool Bar
The undisputed industrial standard for professional toolrooms and heavy woodworking stations demanding exceptional weight capacity.
-
Magnet Profile: High-capacity ceramic ferrite assembly
-
Weight Capacity: Up to 20 lbs per linear inch
-
The Highlights: Master Magnetics is a legendary name in commercial storage hardware. This bar features a rugged, thick steel channel frame that encloses powerful ceramic blocks. The dual steel rails create a completed magnetic circuit, multiplying the holding force across the entire face of the strip. It mounts securely to wall studs using heavy-duty side brackets, ensuring the bar won’t flex or pull away from the wall when yanked by a heavy tool.
-
Best For: Heavy bench chisels, large turning gouges, and heavy metalworking wrenches.
2. Olsa Tools 12-Inch Aluminum Magnetic Tool Organizer
An elite, ultra-sleek modern storage strip designed with a smooth protective coating to safeguard delicate tool aesthetics.
-
Magnet Profile: High-intensity Neodymium Rare-Earth matrix
-
Weight Capacity: Heavy-duty pull rating
-
The Highlights: If you have invested hundreds of dollars in premium, highly polished boutique bench chisels (like Lie-Nielsen or Veritas), slapping them onto bare, rough steel magnetic bars can leave scratches on the flat backs of your tools. Olsa Tools solves this by wrapping their powerful neodymium magnets inside a smooth, anodized aluminum casing. It delivers a massive holding force while preventing any metal-on-metal scratching.
-
Best For: Premium, high-end woodworking bench chisels and delicate carving tools.
3. Blue Ginkgo Magnetic Tool Holder Strip (3-Piece Pack)
The ultimate, budget-friendly organization kit for hobbyists looking to organize multiple distinct zones across a small garage workshop.
-
Magnet Profile: Standard ceramic assembly
-
Weight Capacity: Light-to-medium duty (approx. 5 lbs total tool load)
-
The Highlights: Blue Ginkgo delivers incredible value by bundling three separate 12-inch magnetic strips in one package. The bars are wrapped in a bright, clean plastic composite housing that helps cut down on workshop glare. While not built to hold massive framing axes, these bars excel at holding rows of twist drill bits, driver extensions, hex wrenches, and light hand tools cleanly.
-
Best For: Organizing rows of drill bits, driver heads, router bits, and lightweight hand layout tools.
4. Torack Heavy-Duty Magnetic Tool Rack (Extended 18-Inch Profile)
A massive, extended-length storage workspace designed specifically to bridge across open wall studs and manage high-volume tool collections.
-
Magnet Profile: Heavy-duty multi-block ceramic system
-
Weight Capacity: Up to 30 lbs total holding load
-
The Highlights: Standard short bars can quickly fill up if you own a large 8-piece chisel set. Torack’s 18-inch model offers an expanded footprint that easily handles a massive array of tools. The extra length allows it to span exactly 16 inches across standard residential wall studs, letting you screw the mounting hardware directly into solid wood framing rather than relying on weak plastic drywall anchors.
-
Best For: High-volume chisel collections, long auger bits, and deep tool storage grids.
Magnetic Strip Selection Comparison Matrix
| Model | Frame Material | Magnet Base | Length | Key Shop Advantage | Best Target Tool |
| Master Magnetics | Heavy Steel Channel | Dual-Rail Ceramic | 13 inches | Incredible multi-point weight pull | Large turning gouges & heavy steel |
| Olsa Tools | Anodized Aluminum | Premium Neodymium | 12 inches | Anodized coating prevents tool scratches | High-end boutique bench chisels |
| Blue Ginkgo Pack | Plastic Composite | Standard Ceramic | 12 inches (x3) | Budget multi-pack layout value | Drill bits, driver heads, & hex keys |
| Torack Extended | Powder-Coated Iron | Heavy Ceramic Blocks | 18 inches | Spans across standard 16″ wall studs | Extended high-volume tool sets |
Step-by-Step Installation: The Precision Layout Method
Simply screwing a magnetic bar to a piece of flimsy drywall is a recipe for disaster. The constant pulling force required to detach a heavy steel tool will quickly rip plastic anchors out of the wall. Follow this strict structural mounting sequence to guarantee absolute stability:
3 Vital Rules for Magnetic Tool Storage Maintenance
-
Mind the Flat Chisel Back: When placing a wood chisel onto a magnetic bar, always place the flat back of the blade against the metal rails, leaving the sharpened angled bevel facing outward toward the room. The flat back provides the maximum surface area contact for the magnetic flux lines to grab. If you try to stick the sloped, angled bevel side against the bar, the tool will have minimal contact area, allowing it to easily pivot, slip sideways, or slide off the rack entirely under its own weight.
-
Guard Against Magnet Residual Charge: Storing steel bits and chisels on intense magnetic tracks over long periods can cause the steel molecules to align, turning the tools themselves slightly magnetic. A magnetized drill bit or chisel will actively attract microscopic metal filings, steel whiskers, and cast-iron dust. This grit stays trapped right on your cutting edge, acting like abrasive sandpaper that dulls your tool rapidly during cuts. If your tools begin to hold static metal dust, pass them through a cheap benchtop de-magnetizer block to instantly clear the residual field.
-
Keep the Rail Surfaces Clean of Sawdust: Fine, airborne wood dust mixed with ambient workshop moisture will eventually build up a furry layer of grime across the exposed face of your magnetic strip. This cake dust acts like a physical shim barrier, separating your steel tools from direct contact with the core magnets and lowering the bar’s holding efficiency. Wipe down your tool strips with a clean microfiber cloth misted with rubbing alcohol once a month to keep the reference surfaces clean, dry, and holding tight.
Amazon Disclaimer:
As an Amazon Associate, I earn from qualifying purchases. This means that if you click on certain links within this post and make a purchase, I may receive a small commission at no additional cost to you. This helps support the site and allows us to continue creating high-quality DIY content.