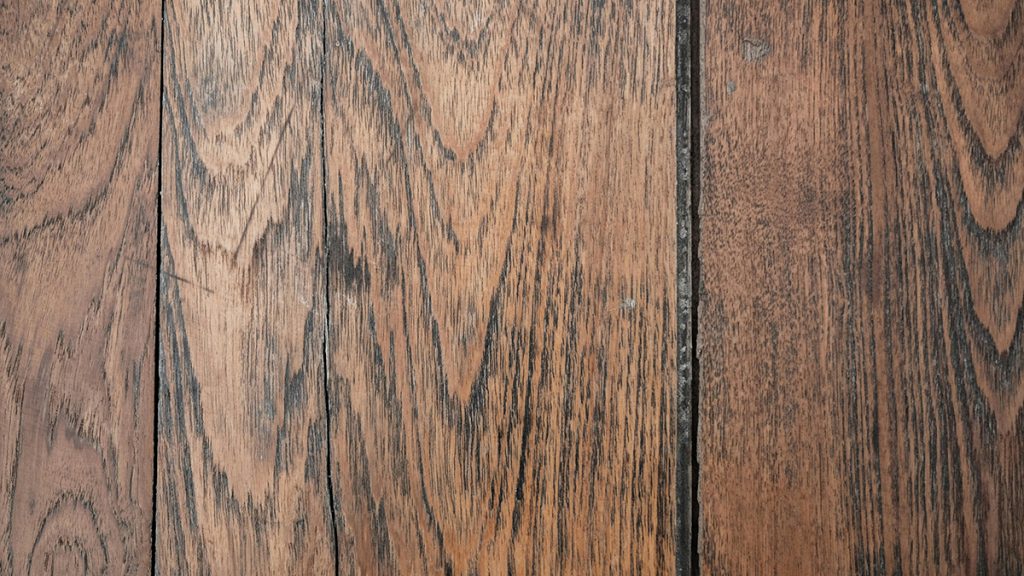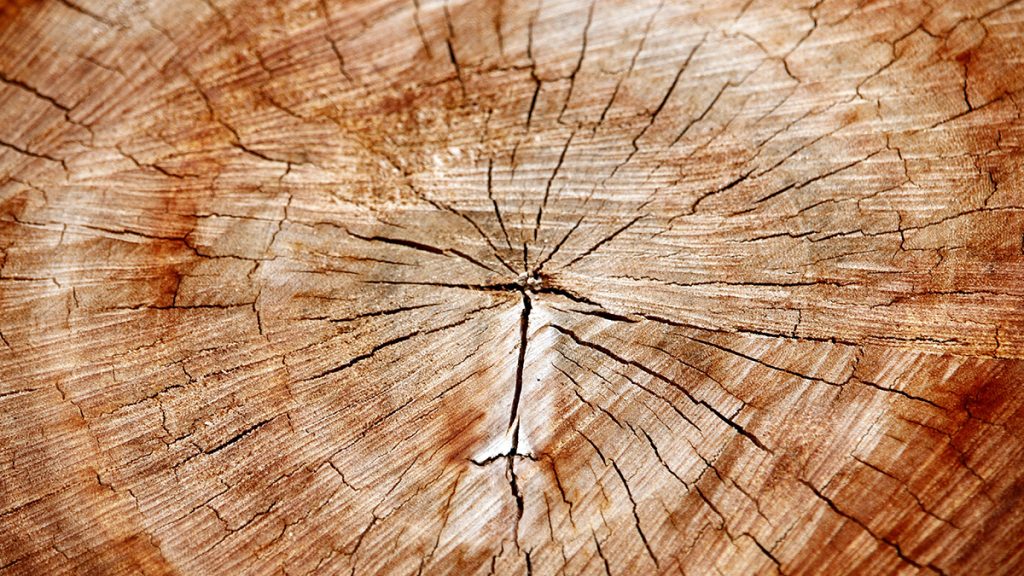
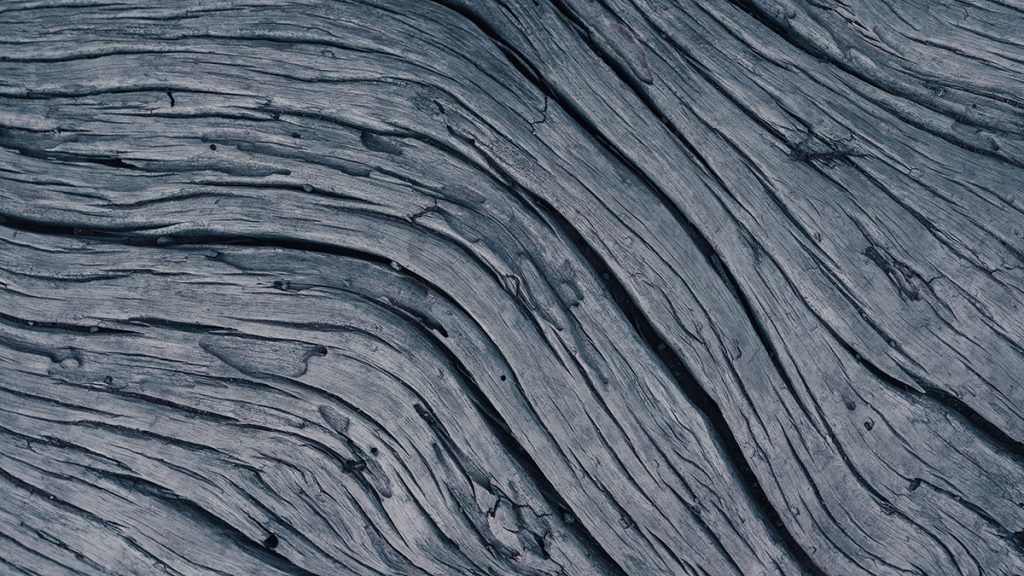
There is nothing quite as disheartening in a woodworking shop as walking over to your lumber rack and discovering that a premium, expensive hardwood board has bowed, cupped, or twisted. Whether it is a tabletop panel that has developed an ugly cup after gluing, or raw stock that warped during a sudden seasonal humidity shift, warped wood can feel like an absolute write-off.
But before you relegate those expensive boards to the scrap bin or cut them up into tiny kindling blocks, you need to understand why wood warps.
Wood is a highly dynamic, hygroscopic material—meaning it acts like a giant, solid sponge. It continuously absorbs and releases moisture from the surrounding air. When one side of a board loses or gains moisture faster than the opposite side, the wood fibers unevenly shrink or expand, pulling the board out of flat.
By strategically introducing heat, moisture, and mechanical pressure, you can actually reverse this process and restore your lumber to a dead-flat state. Here is your comprehensive guide to flattening warped wood with absolute success.
The Anatomy of a Warp: Cup, Bow, Crook, and Twist
Before attempting a fix, you must diagnose the specific geometry of the warp. Different warp profiles require distinct mechanical approaches:
-
Cupping: The board curls upward or downward across its width, forming a shallow U-shape. This is the most common warp and is almost always caused by one face of the board drying out faster than the other.
-
Bowing: The board bends along its length, lifting off a flat surface like a rocking chair runner.
-
Crooking (Crowning): The board remains flat across its face, but the edge bends sideways like a banana.
-
Twisting (Wind): The most complex and difficult warp. The corners of the board turn in opposite directions, preventing it from resting flat on any reference surface.
Warped Wood Correction Comparison Matrix
| Correction Method | Best Warp Target | Equipment Required | Time Investment | Success Rate |
| The Iron & Damp Towel Method | Minor to moderate cupping | Household clothes iron & damp towels | 1 to 2 hours | High (For thin-to-medium stock) |
| The Grass & Sun Method | Large tables & thick panels | Direct sunlight & a damp grass lawn | 1 to 2 days | Medium-High (Weather dependent) |
| Mechanical Clamping & Heat | Bows, crooks, and twists | Heavy F-clamps & a heat source | 2 to 3 days | Medium (Requires intense over-bending) |
| Kerf-Cutting (Surgical Fix) | Severe structural cupping | Table saw & wood glue splines | 3 to 4 hours | Extremely High (Bypasses wood memory) |
Step-by-Step Sequence: The Iron and Steam Recovery Method
For small to medium boards and tabletops experiencing a standard cup, the household iron method is the fastest and most controlled way to force the wood fibers back into alignment. Follow this precise restoration sequence:
3 Vital Rules for Preventing Future Wood Warping
-
Acclimate Your Lumber Before Milling: Never bring fresh hardwood lumber straight from a lumberyard or a damp garage into your climate-controlled shop and immediately cut it to final dimensions. The sudden atmospheric shift will trigger rapid, violent warping as the wood dries out. Always stack your lumber inside your workshop for at least two weeks before milling. Use small wooden spacer strips (stickers) placed between the boards to ensure 360-degree airflow around every single face of the timber.
-
Finish Both Sides of Your Workpieces Equally: A classic cabinetmaker’s mistake is meticulously sanding and applying four coats of premium polyurethane to the top of a dining table, but leaving the bottom face completely raw. When the indoor humidity shifts, the raw bottom face will rapidly absorb moisture, while the finished top face remains sealed. This imbalance creates a massive cupping force that will split joints apart. Always apply the exact same number of finish coats to both the top and bottom faces of your projects.
-
Never Mount Solid Wood Tops Rigidly: Wood moves. A 36-inch wide solid oak tabletop can easily expand and contract by up to 1/4 of an inch across its grain throughout the year. If you screw a solid wood top down tightly to a rigid steel or plywood frame using standard, unyielding pocket screws, the wood will be physically blocked from expanding. Because it cannot move outward, the internal stress will force the table to buckle, cup, or violently crack. Always mount tabletops using slotted tabletop fasteners (Z-clips or wooden figure-8 fasteners) that allow the wood to slide and breathe safely over the seasons.
Amazon Disclaimer:
As an Amazon Associate, I earn from qualifying purchases. This means that if you click on certain links within this post and make a purchase, I may receive a small commission at no additional cost to you. This helps support the site and allows us to continue creating high-quality DIY content.