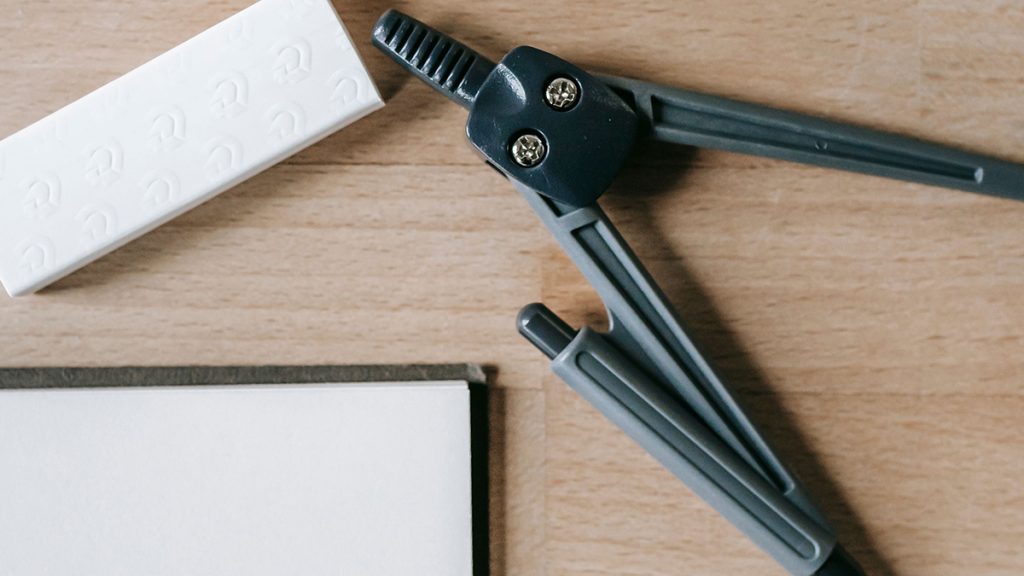
In an era dominated by digital calipers, laser measures, and CNC software, it is easy to forget that classic, non-digital layout tools remain the absolute gold standard for precision furniture making. When setting up repeating joinery, stepping off equal panel divisions, or striking sweeping curved arcs, relying on a standard tape measure introduces small rounding errors that multiply into ugly gaps.
To achieve master-level precision, you need a set of spring dividers and layout compasses.
Unlike a rule, which forces you to read numbers and calculate fractions in your head, dividers and compasses allow you to transfer pure physical dimensions directly from your story stick or drawing board straight onto your wood. By locking a specific distance between two razor-sharp steel legs, you can step off dovetail spacing, draw perfectly proportioned arches, or scribe complex cabinet contours over uneven brick walls with zero mathematical risk.
Here is a review of the top 5 dividers and compasses for woodworking design, along with the precise calibration sequence needed to elevate your layout work.
Must-Have Dividers, Compasses & Layout Tools on Amazon
When selecting a divider or compass, look for two main structural features: a heavy-duty quadrant lock screw (to prevent the legs from flexing or opening under hand pressure) and hardened tool-steel leg tips. These top-rated Amazon options deliver elite drafting and scribing accuracy:
1. The Heirloom Standard: Starrett 277-6 Precision Spring-Nut Divider (6-Inch)
Widely recognized across the fine woodworking and metalworking communities as the absolute benchmark for precision layout tools.
-
The Highlights: The Starrett 277-6 features an exceptionally rigid forged steel leg structure connected by a heavy-duty bow spring. Its standout feature is the proprietary quick-adjusting spring nut. You can slide the nut freely along the threaded rod for rapid macro-adjustments, and then engage the fine threads to micro-tune your leg distance down to a fraction of a millimeter. The tips are heat-treated to retain a needle-sharp point even after years of scribing across hard woods.
-
Best For: Elite cabinet makers, joiners, and woodworkers executing high-precision dovetail layouts and fine joinery stepping.
2. The Traditional Workhorse: General Tools 843/1 Precision Pencil Compass
A rugged, traditional steel wing compass designed specifically to grip standard wooden carpenter pencils or fine drafting lead securely.
-
The Highlights: General Tools delivers incredible practical value with this classic steel wing compass. It features a heavyful quadrant wing mechanism with a knurled locking nut that physically prevents the legs from spreading apart when drawing heavy circles. The integrated pencil holder features a robust clamp that grips standard graphite pencils tightly, ensuring zero lead wobble during long arcs.
-
Best For: General shop layouts, drawing large arcs on sheet goods, and marking wide radius corners on tabletops.
3. Heavy-Duty Scribing: FastCap Accord Scribing Tool & Compass
A modern, highly versatile architectural scribing compass built specifically for trim carpenters and installer crews.
-
The Highlights: Scribing a custom cabinet face frame flush against a crooked, uneven drywall surface requires a compass that won’t flex or lose its offset angle. The FastCap Accord features an articulated joint system with aggressive interlocking teeth that lock rigidly at any angle. It includes a built-in sharpener and holds standard pencils, fine-tip markers, or steel scribe pins.
-
Best For: Trim carpenters, kitchen cabinet installers, and built-in furniture makers scribing panels to uneven walls.
4. The High-Value Twin Pack: Taytools 6-Inch Heavy Duty Wing Divider and Compass Set
An outstanding budget-friendly option that provides both a dedicated needle-point divider and a pencil-holding wing compass.
-
The Highlights: Taytools offers incredible shop value by supplying two essential tools in one kit. Both tools feature forged carbon steel construction with ground points, a heavy-duty locking wing mechanism, and a smooth adjustment screw. The needle-point divider excels at transferring exact joinery measurements, while the wing compass handles all your circular layout needs.
-
Best For: Hobbyists and woodworkers building their first dedicated hand-tool layout kit on a budget.
5. Layout Prep Essential: Shinwa 12-Inch Machinists Steel Rule (13015)
To set your dividers to an exact physical dimension, you need a high-contrast, precision-etched steel rule.
-
The Highlights: Made in Japan, this Shinwa steel rule features non-glare satin chrome plating with deeply photo-etched graduations. The end of the rule is ground perfectly square, allowing you to rest one tip of your divider needle directly against the zero-edge of the rule to dial in your exact radius or step offset without eye strain.
-
Best For: Serving as the ultimate reference stick for setting divider leg distances cleanly.
Divider & Compass Comparison Matrix
| Product Profile | Amazon Product Link | Maximum Radius | Locking Mechanism | Primary Shop Benefit |
| Spring Divider | Starrett 277-6 | ~6 inches | Quick-Adjust Spring Nut | Micro-fine precision for joinery stepping |
| Wing Compass | General Tools 843/1 | ~8 inches | Knurled Quadrant Wing Nut | Rigid lead holder; zero pencil wobble |
| Architectural Scriber | FastCap Accord | Variable Offset | Interlocking Tooth Joint | Locks tight for fitting cabinets to walls |
| Twin Value Kit | Taytools Set | ~6 inches | Classic Wing Screws | Complete set for both scribing & stepping |
| Reference Rule | Shinwa Steel Rule | 12 inches (Length) | N/A (Solid Steel) | High-contrast etched marks for zeroing |
Step-by-Step Sequence: The Flawless “No-Math” Layout Method
Dividers eliminate calculation errors when dividing a panel into equal segments (such as layout steps for hand-cut dovetails or shelf pins). Follow this strict physical stepping sequence:
3 Vital Rules for Master Layout Accuracy
-
Hone Your Divider Points to a Sharp Chisel Edge: The tips of cheap dividers often arrive with blunt, rounded ends that slide around on dense wood fibers. To ensure your points lock firmly into the grain without slipping, lightly stone the outer bevels of the steel tips using a fine diamond sharpening card. Honing them to a razor-sharp, conical point ensures the tips drop effortlessly into the finest scribed lines or center-punch marks.
-
Never Drag a Compass Lead Across Rough Grain: When drawing an arc on raw, coarse timber (like Red Oak), a standard conical pencil lead will catch on the soft springwood fibers, flexing sideways and distorting your curve profile. To prevent this, use a small piece of fine sandpaper to shape your compass lead into a flat wedge or chisel point. Orient the flat side of the chisel lead parallel to the curve path so it glides smoothly over grain transitions without deflecting.
-
Protect Your Center Pivot Mark on Fine Wood: When drawing a decorative arch or large circle on a finished piece of wood (like a table top), pressing the steel pivot needle of your compass into the wood will leave an ugly, permanent hole in the center of your panel. To protect your project, place a small square of blue painter’s tape directly over the center point location. Draw your center crossmarks on the tape, anchor your compass needle into the tape, strike your arc, and then peel the tape away—leaving your final wood surface completely unblemished.
Amazon Disclaimer:
As an Amazon Associate, I earn from qualifying purchases. This means that if you click on certain links within this post and make a purchase, I may receive a small commission at no additional cost to you. This helps support the site and allows us to continue creating high-quality DIY content.