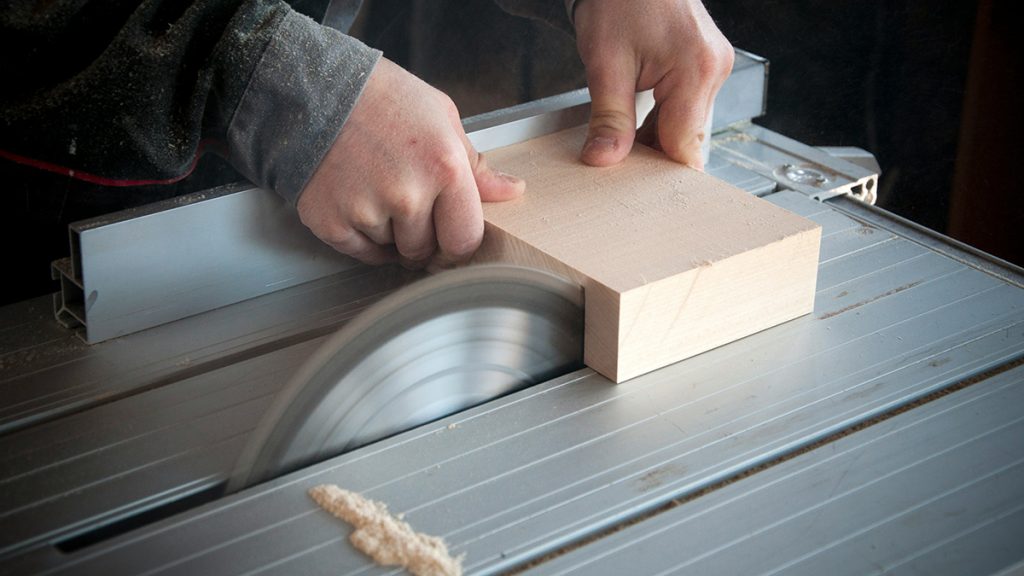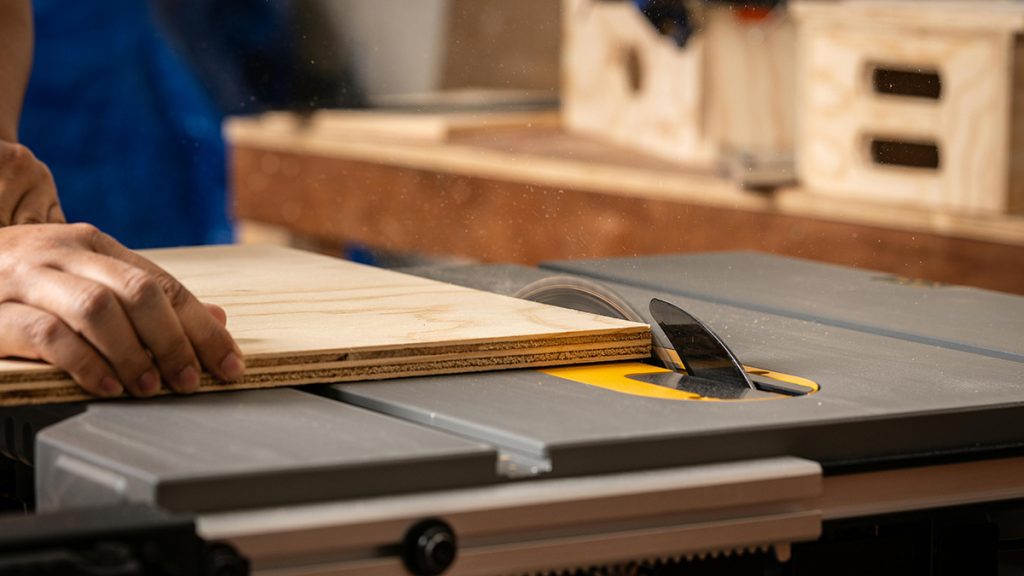
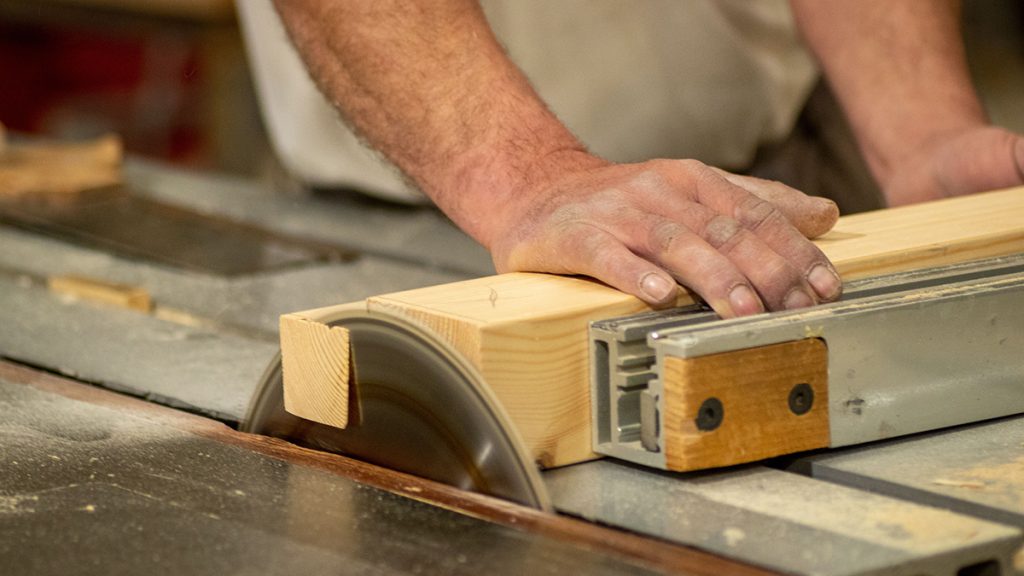
For any homeowner, DIY enthusiast, or aspiring woodworker, the table saw is the absolute heart of the workshop. It is the ultimate anchoring tool—the one machine that allows you to rip wide plywood sheets perfectly straight, crosscut raw studs to precise lengths, and cut clean joinery slots for custom shelving.
While professional cabinet makers often invest thousands of dollars in massive, cast-iron cabinet saws, you do not need to break the bank to get professional-grade accuracy. Modern engineering has allowed tool manufacturers to pack incredible power, reliable rack-and-pinion fences, and robust safety features into highly compact, budget-friendly portable saws.
If you are looking to build outdoor deck furniture, frame out a basement, or craft custom cutting boards without draining your wallet, here is a review of the best budget-friendly table saws for home projects, along with the essential safety protocols you must follow.
Must-Have Budget Table Saws & Upgrades on Amazon
When shopping for a budget table saw, prioritize two main features: a reliable rip fence mechanism (which guides the wood straight) and active dust extraction ports. These top-rated budget saws and essential table saw accessories on Amazon deliver the ultimate value:
1. The Budget King: DEWALT 8-1/4-Inch Jobsite Table Saw (DWE7485)
Widely recognized across the woodworking community as the absolute benchmark for compact, budget-friendly table saws.
-
The Highlights: The standout feature of the DWE7485 is its rack-and-pinion telescoping fence system. On cheap table saws, the fence often flexes and clamps out of square, which causes the wood to bind and trigger kickback. DeWalt’s gears lock the fence perfectly parallel to the blade at both the front and back of the table. It features a robust 15-amp motor and a compact 8-1/4-inch blade size that easily cuts through 2\4 framing lumber and sheet goods.
-
Best For: DIYers and hobbyists who want maximum accuracy and a dead-straight fence without paying cabinet-saw prices.
2. The High-Value Alternative: SKIL 15-Amp 10-Inch Table Saw (TS6307-00)
An incredibly feature-packed, budget-friendly 10-inch saw that comes with its own integrated folding stand.
-
The Highlights: SKIL steps up the value proposition by offering a full-sized 10-inch blade capacity and an integrated folding stand at an incredibly low price point. Like the DeWalt, it features a rack-and-pinion fence to ensure straight cuts. The 10-inch blade allows you to cut deeper profiles, while the built-in folding legs let you set up a stable cutting station anywhere in your yard or garage in seconds.
-
Best For: Homeowners who need a portable, stand-alone cutting station that folds flat against the garage wall when not in use.
3. Blade Upgrade: DIABLO 10-Inch 50-Tooth Combination Saw Blade (D1050X)
Budget table saws typically ship with cheap, coarse-tooth construction blades that tear and splinter fine plywood.
-
The Highlights: Swapping your stock blade for a premium Diablo Combination blade is the single fastest way to turn a budget saw into a precision cutting machine. This 50-tooth blade features a thin kerf that puts less strain on your saw’s motor, and specialized tracking teeth that cleanly slice through delicate veneers without leaving ugly splintered edges.
-
Best For: Upgrading any budget table saw to achieve glass-smooth, paint-ready cuts.
4. Safety First: MICROJIG GRR-RIPPER 3D Pushblock (GR-100)
Standard plastic push sticks that come with budget saws are clumsy and fail to support the wood on both sides of the blade.
-
The Highlights: The Grr-Ripper is the ultimate safety upgrade for any table saw owner. It functions as a moving blade guard that rides directly over the spinning blade. It provides three-directional force—pushing the wood forward, keeping it flat against the table, and pressing it inward against the fence. This completely eliminates the risk of your hand slipping or the wood binding mid-cut.
-
Best For: Preventing kickback and keeping your fingers 100% isolated from the spinning blade.
Budget Table Saw & Accessory Comparison Matrix
| Product Profile | Amazon Product Link | Core Utility Metric | Primary Shop Benefit |
| 8-1/4″ Table Saw | DEWALT DWE7485 | Rack-and-pinion fence alignment | Elite cutting accuracy and portability |
| 10″ Table Saw | SKIL TS6307-00 | Built-in folding legs & 10″ blade | Great cut depth; stand-alone mobile setup |
| Abrasive Upgrade | Diablo 50-Tooth Blade | Ultra-thin kerf; combination grind | Eliminates tear-out on delicate wood veneers |
| Safety Device | MICROJIG GRR-RIPPER | 3D force pressure block | Keeps hands completely safe; prevents kickback |
Step-by-Step Sequence: The Safe Table Saw Operation
The table saw is an incredibly efficient tool, but it demands absolute respect. Most shop accidents occur when the operator neglects basic setup rules. Follow this strict physical operational sequence before feeding your timber:
3 Vital Rules for Budget Table Saw Success
-
Never Freehand a Cut on a Table Saw: You must never, under any circumstances, attempt to push a piece of wood through a table saw blade without using either the rip fence or a miter gauge as a guide. Freehanding a cut causes the wood to twist mid-cut. The moment the wood twists slightly, the teeth on the back of the blade will grab the wood and violently throw it back at you, dragging your hand directly into the blade.
-
Do Not Let Sawdust Build Up Inside the Body: Because budget table saws are compact, their internal motor housing is tightly enclosed. Fine wood dust can rapidly build up around the elevation gears and the motor fan. If this dust is not cleared out, it traps heat, causes the height adjustment gears to jam, and can lead to motor burnout. Keep a shop vacuum connected to your saw’s 2-1/2 inch rear dust port, and blow out the interior gears with compressed air once a month.
-
Never Use the Fence and Miter Gauge Together: When crosscutting a board to length, it is tempting to slide the board along the miter gauge while using the rip fence as a stop block to get repeatable lengths. This is a major hazard. As the board is cut through, the loose offcut piece will become trapped between the spinning blade and the rigid rip fence. With nowhere to go, the spinning blade will grab the offcut and fire it backwards. If you need a repeatable stop block, clamp a scrap block of wood to your fence before the blade path, allowing the wood to register for length and then clear the block before reaching the spinning teeth.
Amazon Disclaimer:
As an Amazon Associate, I earn from qualifying purchases. This means that if you click on certain links within this post and make a purchase, I may receive a small commission at no additional cost to you. This helps support the site and allows us to continue creating high-quality DIY content.