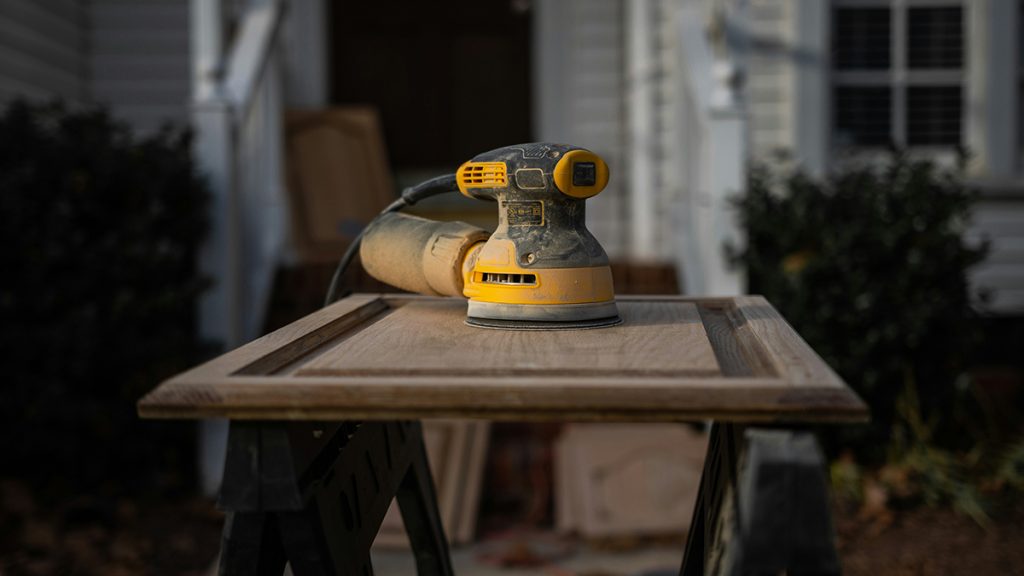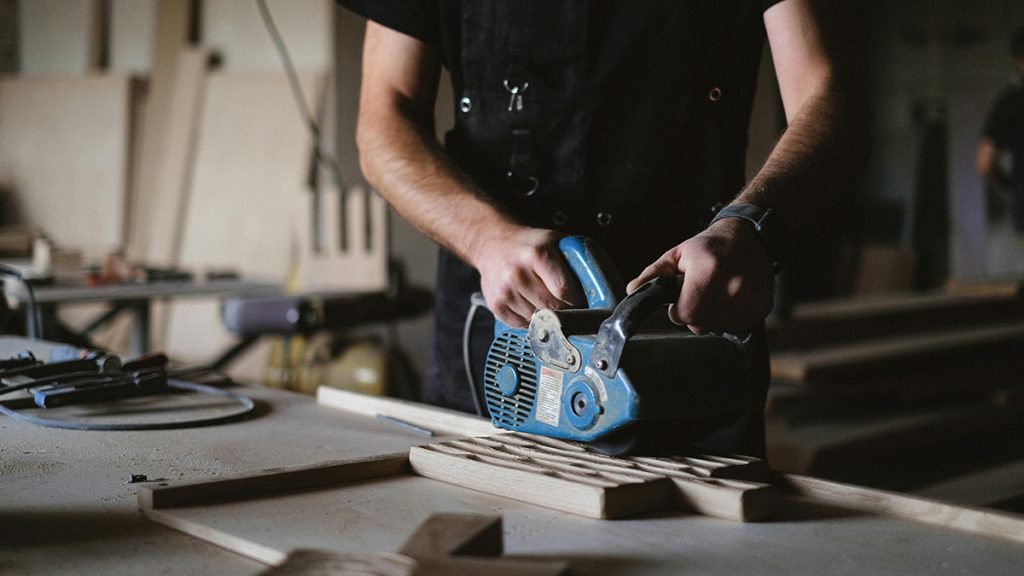
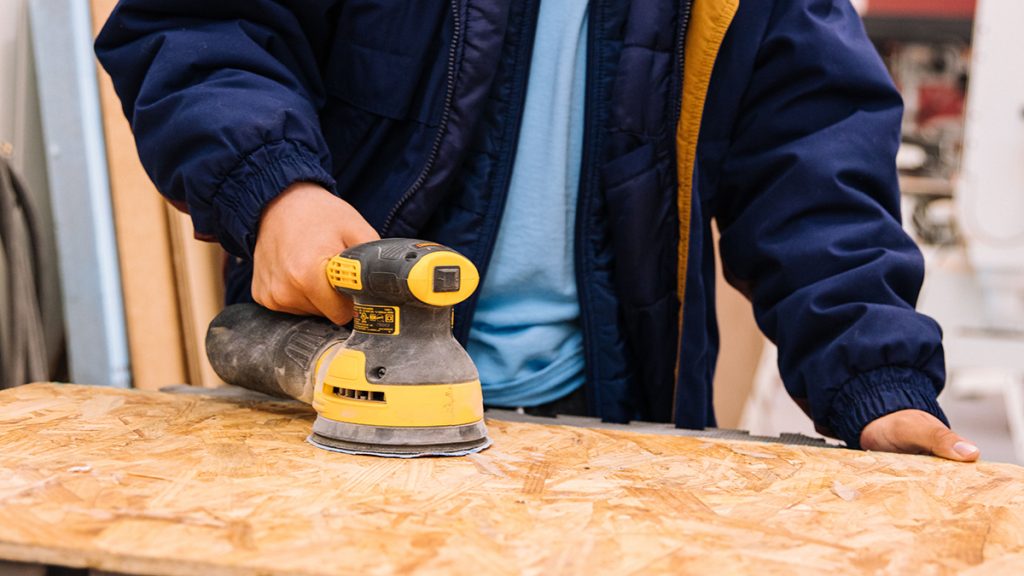
When your project is nearly complete, the final step—sanding—is the most critical. You have spent hours milling, joinery-cutting, and assembling, and now you are mere minutes away from applying your first coat of stain. This is where a high-power, aggressive sander will ruin your work. If you use a heavy-duty orbital sander at a high speed, you will instantly create deep swirl marks, burn through delicate veneers, or tear the soft grain of species like pine or cedar.
To achieve a glass-smooth surface that is ready for a professional finish, you need a finishing sander. Unlike random orbit sanders that use erratic, high-pressure movement, finishing sanders are engineered for slow, micro-oscillating motion. They move in a tiny, controlled orbital path (often just 1/16-inch) that allows you to buff out 220-grit scratches without ever gouging the wood.
Here is a review of the best finishing sanders for delicate surfaces, along with the essential Amazon-available upgrades to ensure your project receives a perfect, defect-free surface.
Must-Have Finishing Sanders & Surface Upgrades on Amazon
For delicate work, look for sanders with variable speed control (to lower the heat friction) and ultra-low vibration dampening (to prevent hand-arm fatigue and surface stuttering). These top-rated Amazon products are the gold standard for finish-sanding:
1. The Pro-Finish Benchmark: Festool RTS 400 REQ Orbital Sander
Widely considered by high-end furniture makers as the absolute finest finishing sander ever produced.
-
The Highlights: The Festool RTS 400 is perfectly rectangular, allowing you to sand right up into tight corners and edges without rounding them off. Its most critical feature is the “Jetstream” dust extraction technology, which pulls dust away from the surface with near 100% efficiency, ensuring no loose abrasive grains remain on the pad to scratch your finish. It is feather-light and features a proprietary motor that produces virtually zero vibration, letting you work for hours on a single workpiece.
-
Best For: Professional furniture makers who demand elite, scratch-free finishes on exotic hardwoods.
2. The Reliable Workhorse: Makita BO4556K 4-1/2″ Finishing Sander
An incredibly dependable, budget-friendly sander that provides consistent, controlled movement for hobbyist workshops.
-
The Highlights: The Makita BO4556K is legendary for its longevity. It features a rugged, all-ball-bearing construction that eliminates the internal “play” that often causes inexpensive sanders to vibrate unevenly. It uses a simple, rubber-clamped sandpaper mounting system, which allows you to use standard sheets of high-quality wet/dry paper rather than being locked into proprietary hook-and-loop discs.
-
Best For: Hobbyists and DIYers performing final surface prep on cabinets, shelving, and furniture projects.
3. Elite Abrasives: Mirka Gold 4-1/2″ x 5-1/2″ Sheet Sandpaper (Assorted Grit)
Standard hardware store sandpaper is often too abrasive for delicate finish work because the grit particles are unevenly sized.
-
The Highlights: Mirka Gold is the standard for high-end finishing. The grit particles are perfectly uniform in size, meaning you won’t have one oversized, stray grain digging a deep scratch into your tabletop. The paper backing is flexible but tear-resistant, allowing it to contour over slight irregularities without snapping.
-
Best For: Achieving a professional, uniform 220-grit scratch pattern across the entire project surface.
Finishing Sander Comparison Matrix
| Product Profile | Amazon Product Link | Motion Profile | Key Advantage | Best Workspace Target |
| Festool RTS 400 | Festool RTS 400 REQ | 2mm Micro-Orbit | Elite dust collection; zero vibration | Elite heirloom furniture |
| Makita BO4556K | Makita BO4556K | 1.5mm Micro-Orbit | Uses standard sheet paper | Intermediate hobby furniture |
| Mirka Abrasives | Mirka Gold Sheets | Uniform Grit | Zero stray deep scratches | All final surface prep |
Step-by-Step Sequence: The Mirror-Smooth Sanding Sequence
Even with the best sander, improper technique will leave “pigtail” swirl marks. Follow this precise operational sequence to guarantee a finish-ready surface:
3 Vital Rules for Delicate Wood Surface Prep
-
Avoid Sanding Over Moist Wood Glue: If you have any squeeze-out glue spots on your project, never sand over them. Glue is significantly harder than wood; if you run a finishing sander over a glue smear, the sander will skip over the glue, creating a shallow “dip” in the wood around it. Furthermore, the glue will gum up your expensive sandpaper instantly. Always use a sharp chisel to scrape away all glue squeeze-out completely until the wood is bare before beginning your sanding sequence.
-
Manage Your Abrasive Life: You cannot force a dull piece of sandpaper to cut efficiently by pressing harder. When sandpaper becomes dull or clogged, it stops cutting the wood fibers and starts “polishing” the wood surface by heat. This creates a hard, glazed surface layer that refuses to accept stain uniformly. If you notice your sanding progress slowing down, or if the wood surface starts to feel shiny/glassy to the touch, change the paper immediately.
-
The “Light Inspection” Technique: Before you decide your sanding is finished, take a high-intensity flashlight and hold it at a very low, acute angle across the surface of your wood. The light will cast long shadows from any remaining swirl marks, scratches, or missed spots. This is the only way to see if your surface is truly ready for finish—if the wood glows uniformly without shadows, you have achieved a professional, defect-free result.
Amazon Disclaimer:
As an Amazon Associate, I earn from qualifying purchases. This means that if you click on certain links within this post and make a purchase, I may receive a small commission at no additional cost to you. This helps support the site and allows us to continue creating high-quality DIY content.